
Raw obsidian care
How to Clean Dirt from Raw Obsidian Without Chipping It
Raw obsidian cleans best when you treat it as fragile volcanic glass, not as a tough field rock. To clean dirt from raw obsidian, inspect it dry first, brush away loose soil with a soft brush, add water only gently, and avoid scraping around cracks, thin edges, or glossy fracture surfaces. Do not use metal picks, wire brushes, abrasive pads, pressure washing, ultrasonic cleaners, harsh chemicals, or force. Stop if the surface begins to flake.
That does not make the process chip-proof. It only reduces the chance of chipping by matching your cleaning pressure to the material: obsidian is natural volcanic glass, and raw pieces can have sharp, brittle fracture edges.
upward
Start with the broader guide
Use the broader guide first if you need the full scope before this page.
Start With a Dry Inspection
Before water or tools, look at the dirty obsidian rock under steady light. Raw pieces often show a mix of glassy broken faces, dull weathered patches, pits, packed dirt, sharp edges, and small flakes that may already be partly detached. Those visible traits decide how gentle you need to be.
Check for:
- Sharp glassy edges where fingers can slip.
- Thin projections that could snap if pushed sideways.
- Cracks or seams packed with dirt.
- Fresh-looking fracture surfaces that appear glossy, curved, or cleaner than the rest of the piece.
- Loose flakes that lift slightly or sound brittle when touched very lightly.
- Natural pits and texture where the dark material may be part of the surface, not just removable mud.
If the specimen has many fragile edges, think of cleaning as surface tidying rather than restoration. Leaving some dirt in cracks is often the better collector decision.
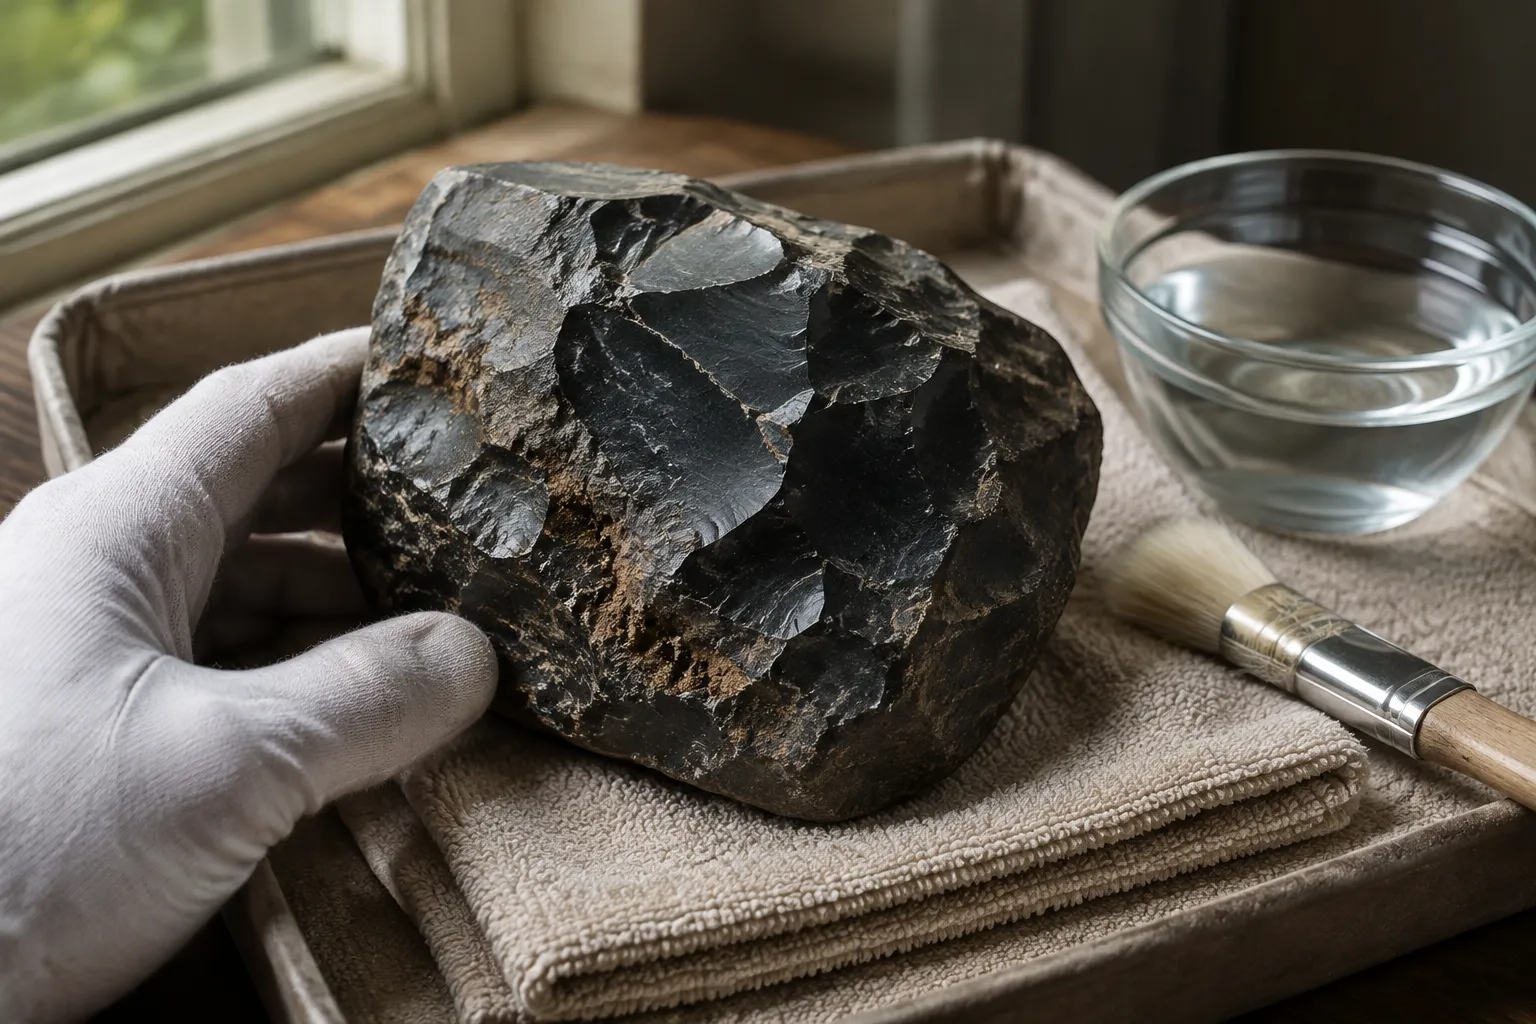
Gloves can help when edges are sharp, but they do not remove the need for careful handling. Work over a folded towel or padded tray so a small slip is less likely to become an impact chip.
A Gentle Raw Obsidian Cleaning Sequence
Use the least force that moves the dirt. That is the whole method.
1. Remove loose dirt first
Start dry. Hold the piece firmly but lightly, and use a soft paintbrush, soft toothbrush, or similar low-force brush. A soft brush for obsidian is a better first choice than a stiff scrubber because it is less likely to catch on thin flakes.
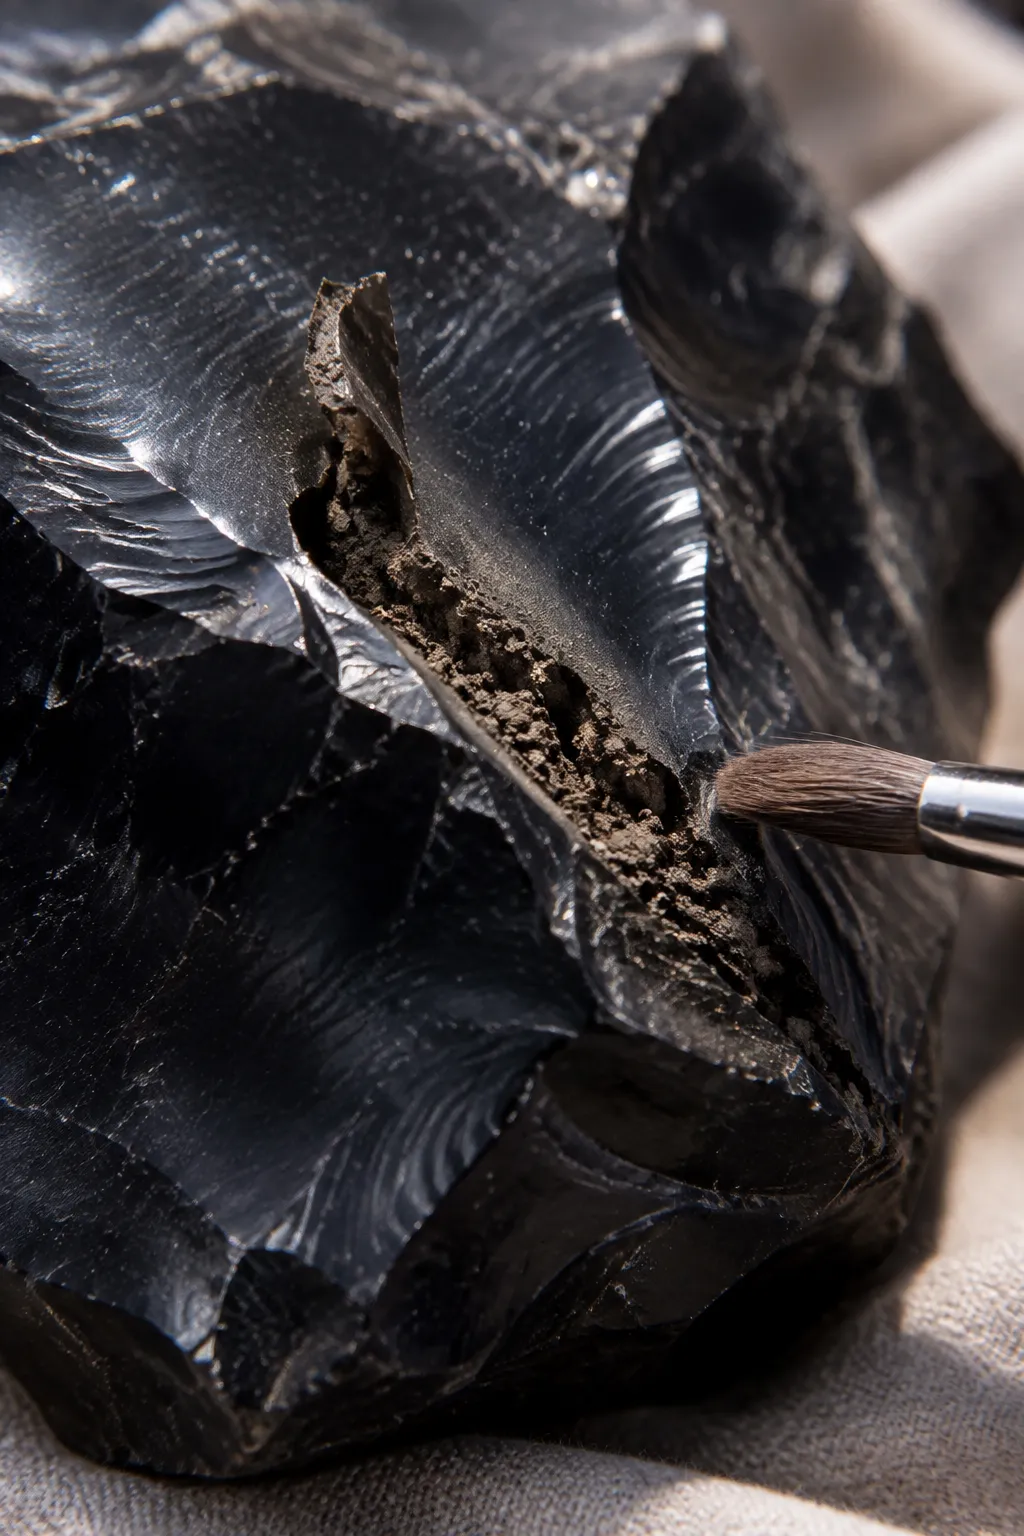
Brush outward from cracks and edges instead of pushing dirt deeper into them. Use short, light strokes. If the brush catches, pause and inspect that spot before continuing.
Do not try to dig out every dark line. Some material sits inside natural fractures or pits and may not be worth disturbing.
2. Add water only when brushing is not enough
If dry brushing leaves surface dirt behind, use a gentle rinse or a damp soft brush. Keep the water movement mild. The goal is to soften and lift loose soil, not to blast sediment out of cracks.
Wet obsidian can be slippery, so avoid holding it in a way that puts sudden pressure on one edge. A dropped specimen is often at greater risk from impact than from the water itself.
If dirt loosens, rinse lightly and return to soft brushing. If nothing changes, do not jump to harder tools.
3. Slow down around cracks and thin edges
Cleaning around obsidian cracks is where a small problem can become a missing flake. Packed dirt may make a crack look wider than it is, and a pointed tool can concentrate pressure exactly where the piece is already weak.
Use the side of a soft brush rather than the tip of a hard tool. Approach the line from different directions with light strokes. If the edge sheds tiny glassy pieces or looks undercut, leave it alone.
A clean crack is not worth a damaged specimen.
4. Pat dry instead of rubbing hard
After rinsing, pat the stone dry with a soft cloth or let it air dry on a towel. Avoid hard rubbing across jagged ridges. Cloth can catch on thin flakes, especially on rough obsidian with sharp fracture edges.
Once dry, inspect again. Dirt that looked removable when wet may still be trapped in pits, seams, or weathered texture. That is a limit of gentle obsidian cleaning, not a failure of the method.
What Not to Use on Rough Obsidian
The tools that work on garden rocks are often too aggressive for rough obsidian. Broken volcanic glass can be sharp, brittle, and vulnerable to point pressure.
GIA’s general gemstone care guidance supports a conservative starting point when condition and durability are uncertain: gentle handling before aggressive cleaning. Applied here, that is a cautious care boundary, not an obsidian-specific lab protocol.
When Dirt Should Stay Put
A raw piece does not need to look polished to be cared for well. Some dirt is loose surface soil. Some is trapped in natural texture.
Leave the dirt alone when:
- It sits deep inside a crack that widens under pressure.
- The area flakes when brushed.
- The dirt is packed beneath a thin overhang.
- The surface looks weathered, crumbly, or unstable.
- The specimen may be valuable, archaeological, culturally significant, or unusually fragile.
- You are not sure whether you are removing dirt or part of the natural surface.
For a common collector piece, a little packed dirt may preserve the rough character. For a specimen with possible archaeological, cultural, or museum importance, home cleaning may be the wrong next step; ask a qualified conservator instead of trying to improve the appearance.
The decision point is simple: if cleaning requires prying, scraping, or forcing, stop.
Why Obsidian Needs a Lighter Touch
Mindat and Britannica describe obsidian as naturally occurring volcanic glass. That matters for cleaning because a broken face can have bright glassy luster, a sharp edge, and thin flakes that detach under pressure.
Collectors often notice curved, shell-like breakage on obsidian. The practical takeaway is not the terminology; it is the handling choice. Protect the fracture edge rather than widening or breaking it.
This is also why “clean obsidian without chipping” should be understood as a risk-reduction goal. No home method can guarantee that every raw specimen will stay unchanged. The condition of the piece, the depth of cracks, previous damage, and the force you apply all affect the result.
Common Confusions While Cleaning Dirty Obsidian
“If it is a rock, can’t I scrub it hard?”
Not a good assumption. Raw obsidian is a glassy volcanic material, and rough pieces may carry sharp fracture edges, thin projections, and existing chips. Aggressive brushing may remove dirt faster, but it can also increase the chance of flakes or edge damage.
Use a soft brush first. Escalation should be slower than your impatience.
“Can I use a metal pick just in the cracks?”
Avoid metal picks on obsidian cracks. A pick puts pressure into a narrow line, exactly where the specimen may already be weak. If a soft brush and gentle rinsing do not move the material, it may be better left in place.
Packed dirt is less of a problem than a missing glassy edge.
“Should raw obsidian be soaked?”
The available source set does not provide a tested soaking time or a universal soaking rule for raw obsidian. A brief, gentle rinse or damp brushing is easier to control than a long soak, especially when the piece has cracks, attached matrix, unstable flakes, or unknown inclusions.
If you use water, use it conservatively and watch the specimen closely. Stop if the surface flakes or if edges begin to shed small pieces.
“Can cleaning restore the original shine?”
Only sometimes, and only where dirt is covering a glassy surface. Some dullness comes from weathering, texture, scratches, or natural fracture patterns. Gentle cleaning can reveal visible traits; it should not be treated as polishing, repair, or proof of a variety name.
A raw surface may remain raw after it is clean.
Quick Checklist Before You Start
Use this before cleaning and again when the piece is wet:
- Can you see sharp edges or thin flakes? Handle with gloves and work over padding.
- Is the dirt loose? Brush dry first.
- Is the dirt packed in cracks? Use only light brushing; do not pry.
- Does the brush catch or lift a flake? Stop in that area.
- Does water make the piece slippery or unstable in hand? Put it down on a towel and work more slowly.
- Are you tempted to use metal, chemicals, pressure, or heat? Do not escalate without specimen-specific guidance.
- Is the piece potentially important or unusually fragile? Leave cleaning to a qualified conservator.
For most raw obsidian cleaning, the right finish is not spotless. It is cleaner, still intact, and not forced beyond what the surface can tolerate.